
Deployment flow
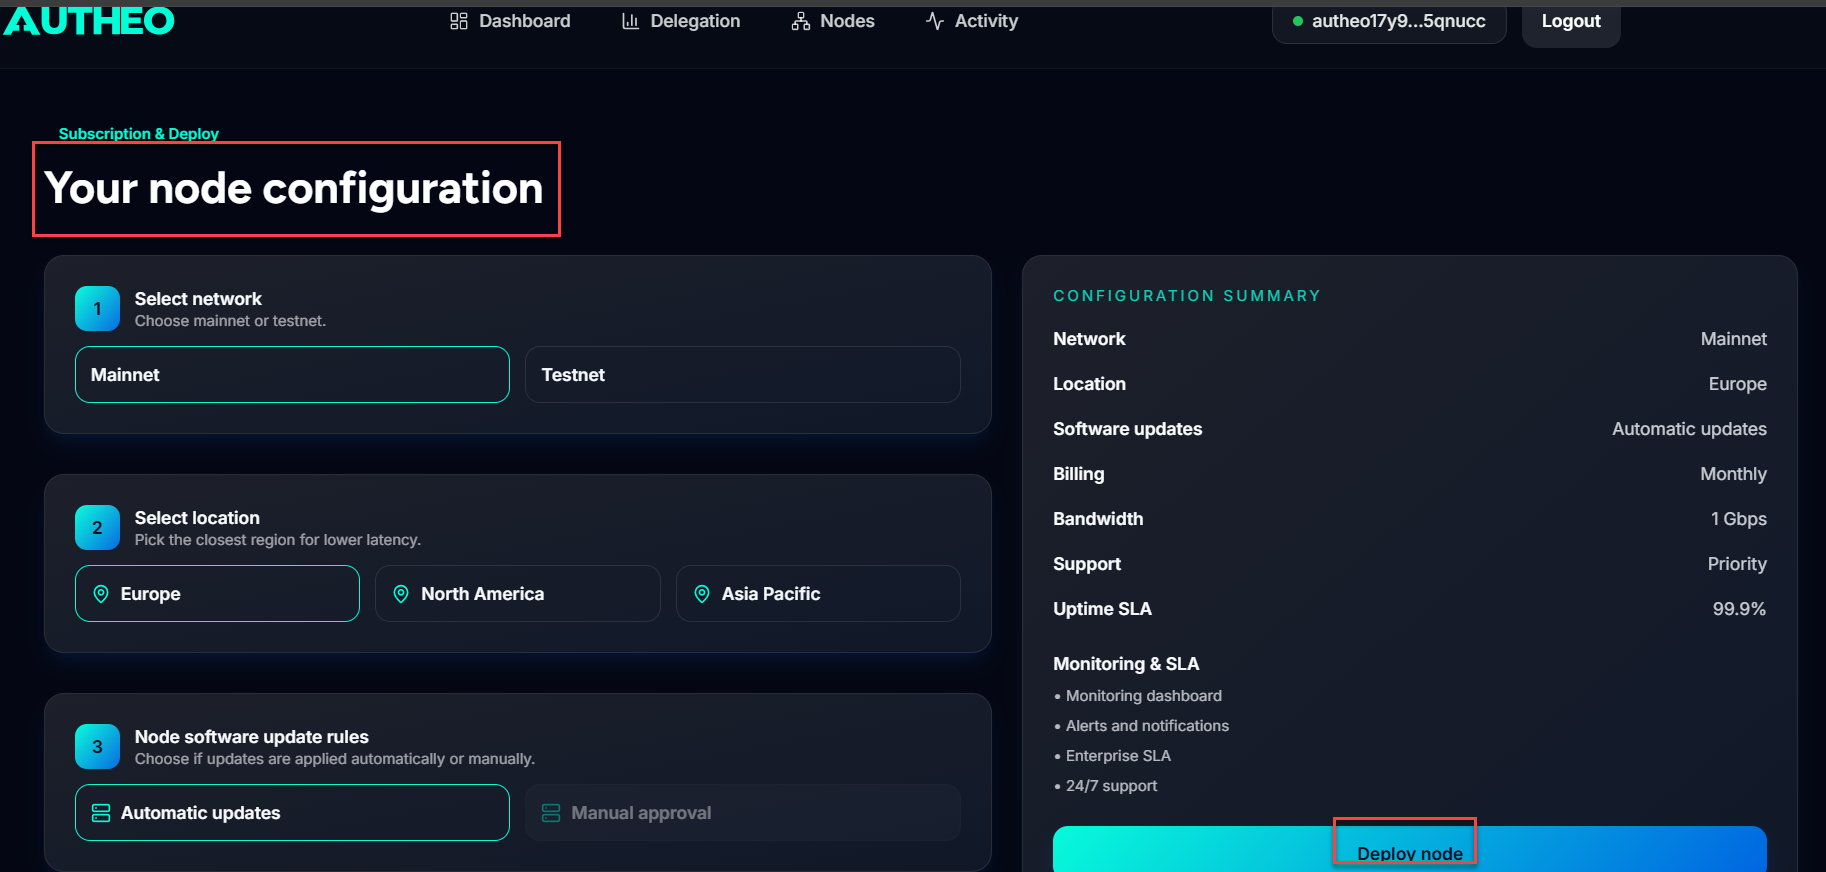
Select network
Choose the network for your node:
| Option | Description |
|---|---|
| Mainnet | The production Autheo network |
| Testnet | The test environment for development and testing |
Select location
Choose your preferred data center region:
| Option | Description |
|---|---|
| Europe | Data centers in the European region |
| North America | Data centers in North America |
| Asia Pacific | Data centers in the Asia-Pacific region |
Configure software update rules
| Option | Description |
|---|---|
| Automatic updates | Updates are applied automatically as they become available (recommended) |
| Manual approval | You manually approve each update before it is applied (currently unavailable) |
Review configuration summary
The summary panel shows your selected configuration plus included service details:
Additional included services: monitoring dashboard, alerts and notifications, enterprise SLA, and 24/7 support.
| Item | Value |
|---|---|
| Billing | Monthly |
| Bandwidth | 1 Gbps |
| Support | Priority |
| Uptime SLA | 99.9% |
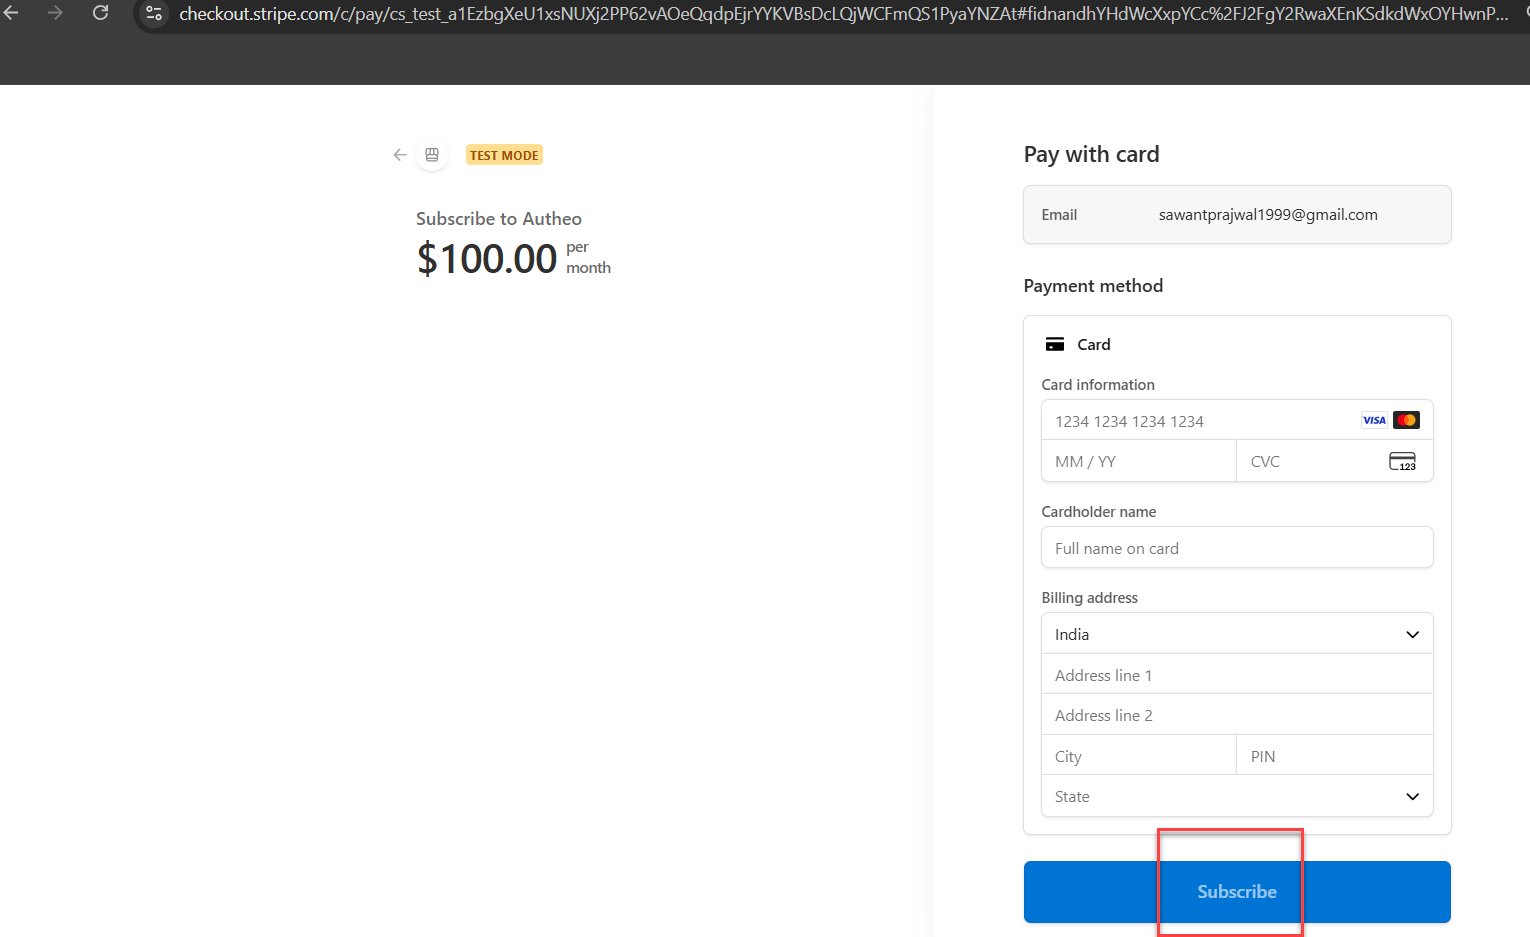
Deploy and complete checkout
- Complete all three configuration steps and click Deploy node
- The portal creates a checkout session and redirects you to Stripe for secure payment
- Complete payment on Stripe to activate your node subscription
- After payment, your new node appears in the Dashboard with Provisioning status
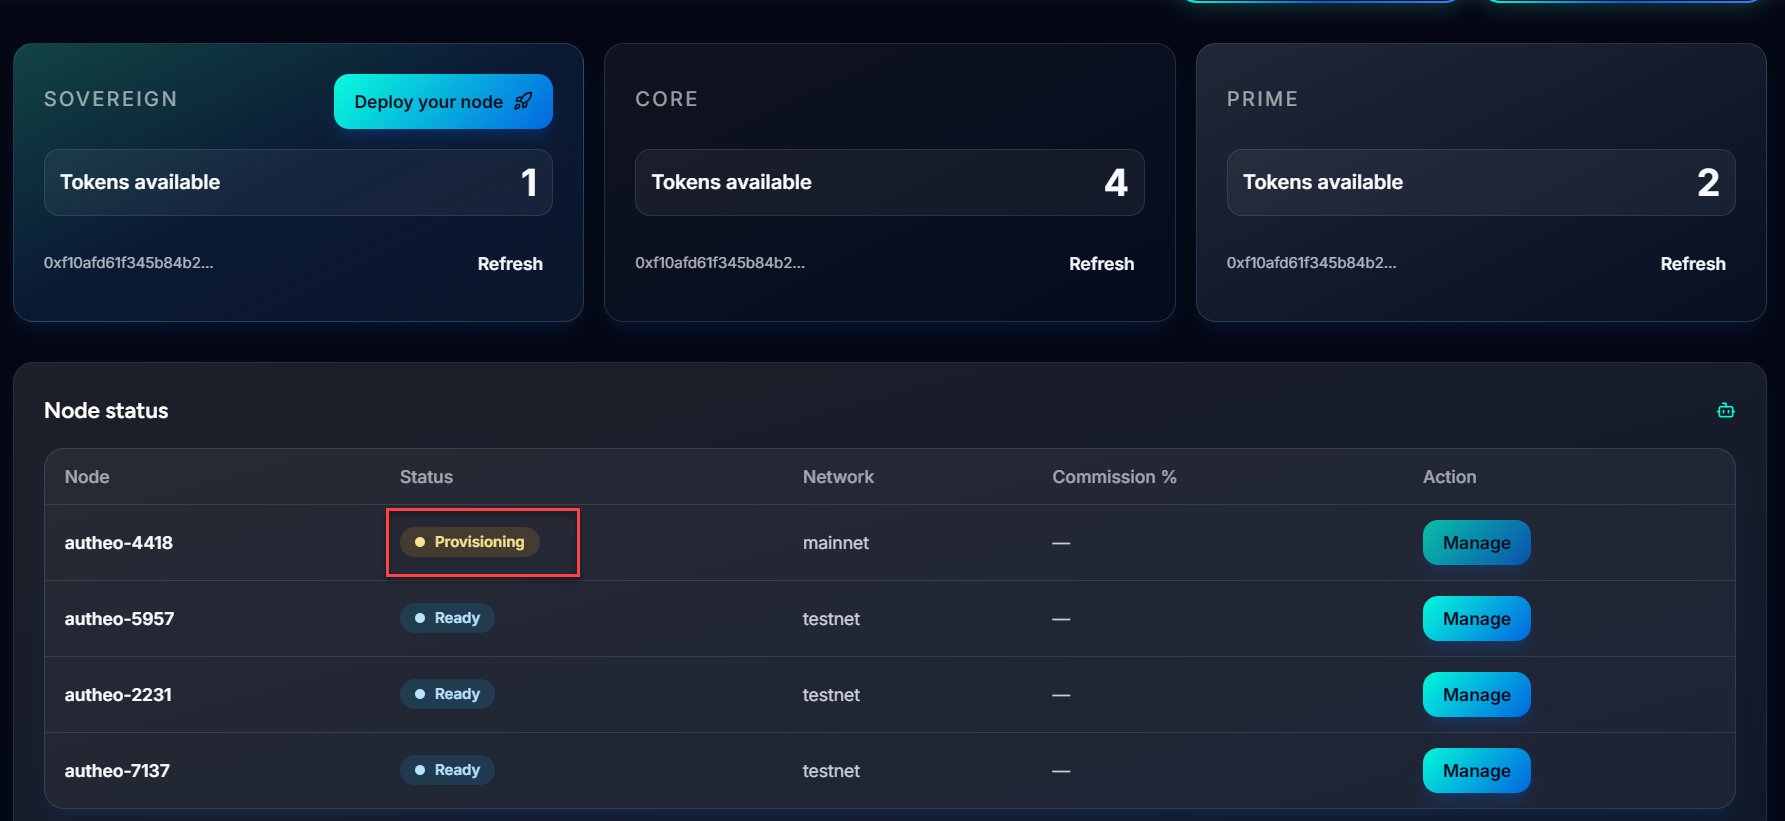
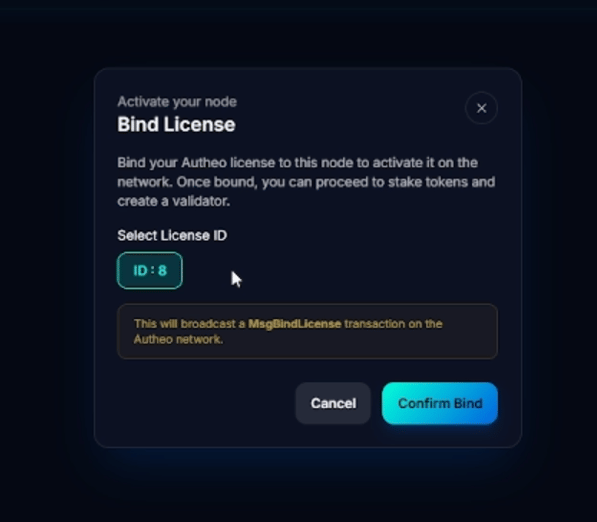
Bind your Sovereign license
Once provisioning completes, the node status changes to Ready. The Manage button becomes available in the Dashboard node table.Click Manage to bind your Sovereign license to the node. This links the license to your validator.
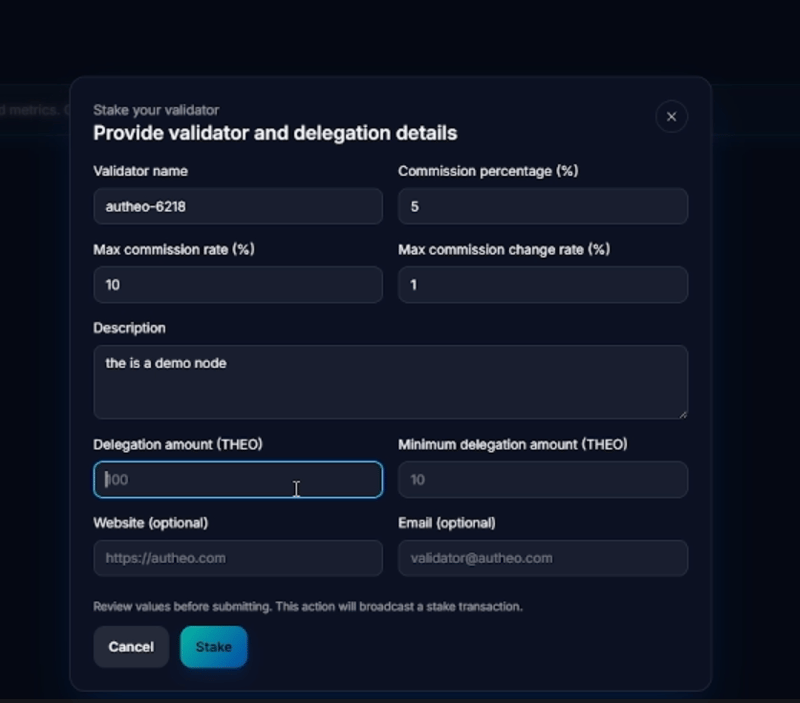
Validator configuration fields
When completing the validator setup after binding your license, you will fill in the following fields:| Field | Description |
|---|---|
| Validator Name | A unique name to identify your validator on the network. Should be descriptive and recognizable — typically includes your brand or node identifier. |
| Commission Percentage (%) | The percentage of staking rewards charged to delegators as a fee. Example: at 5% commission, a delegator earning 100 THEO pays you 5 THEO. |
| Max Commission Rate (%) | The maximum commission you are ever allowed to charge. This value is permanent after validator creation — you cannot increase your commission beyond this limit. |
| Max Commission Change Rate (%) | The maximum percentage by which you can increase your commission per day. Protects delegators from sudden fee increases. Example: at 1%, you can raise your commission by at most 1% per day. |
| Description | A short description of your validator — can include uptime guarantees, branding, or technical details. Helps delegators evaluate your validator. |
| Delegation Amount (THEO) | Your self-delegation amount. Demonstrates commitment to the network. Must be within your wallet balance. Higher amounts increase delegator trust. |
| Minimum Delegation Amount (THEO) | The minimum amount other users must delegate to your validator. Prevents spam delegations. Example: set to 10 THEO to require at least 10 THEO per delegation. |
| Website (optional) | A link to your validator’s website — provides additional information and credibility. |
| Email (optional) | A contact email for your validator — allows delegators or partners to reach out. |