

Before you start
Before purchasing a node license, make sure you have:- MetaMask installed and configured. You will use your connected wallet to complete the purchase.
- MetaMask set to Arbitrum One. Node license purchases are performed on Arbitrum One.
- Enough ETH on Arbitrum One to complete the purchase. ETH is used to pay for the license when ETH is selected as the payment currency.
- A small amount of ARB on Arbitrum One for network fees.
- Completed any required KYC/KYB verification. Purchase completion may require verification through the payment process.
Platform navigation
Once logged in, the main navigation is a tab bar at the top of the content area: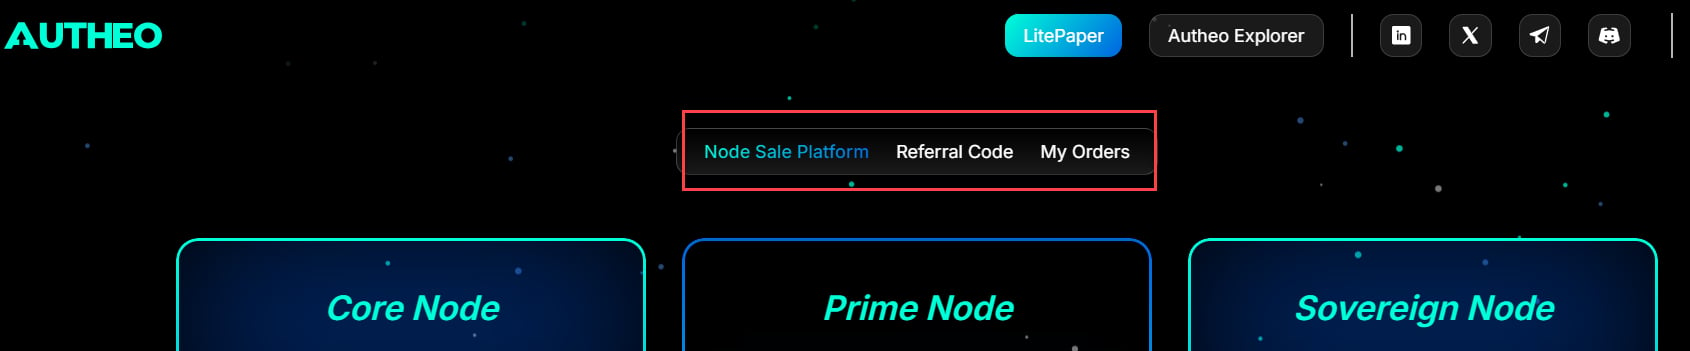


Purchasing a node license
Step 1 — Choose a node type
Click the node type you wish to purchase to see the current price and available supply.
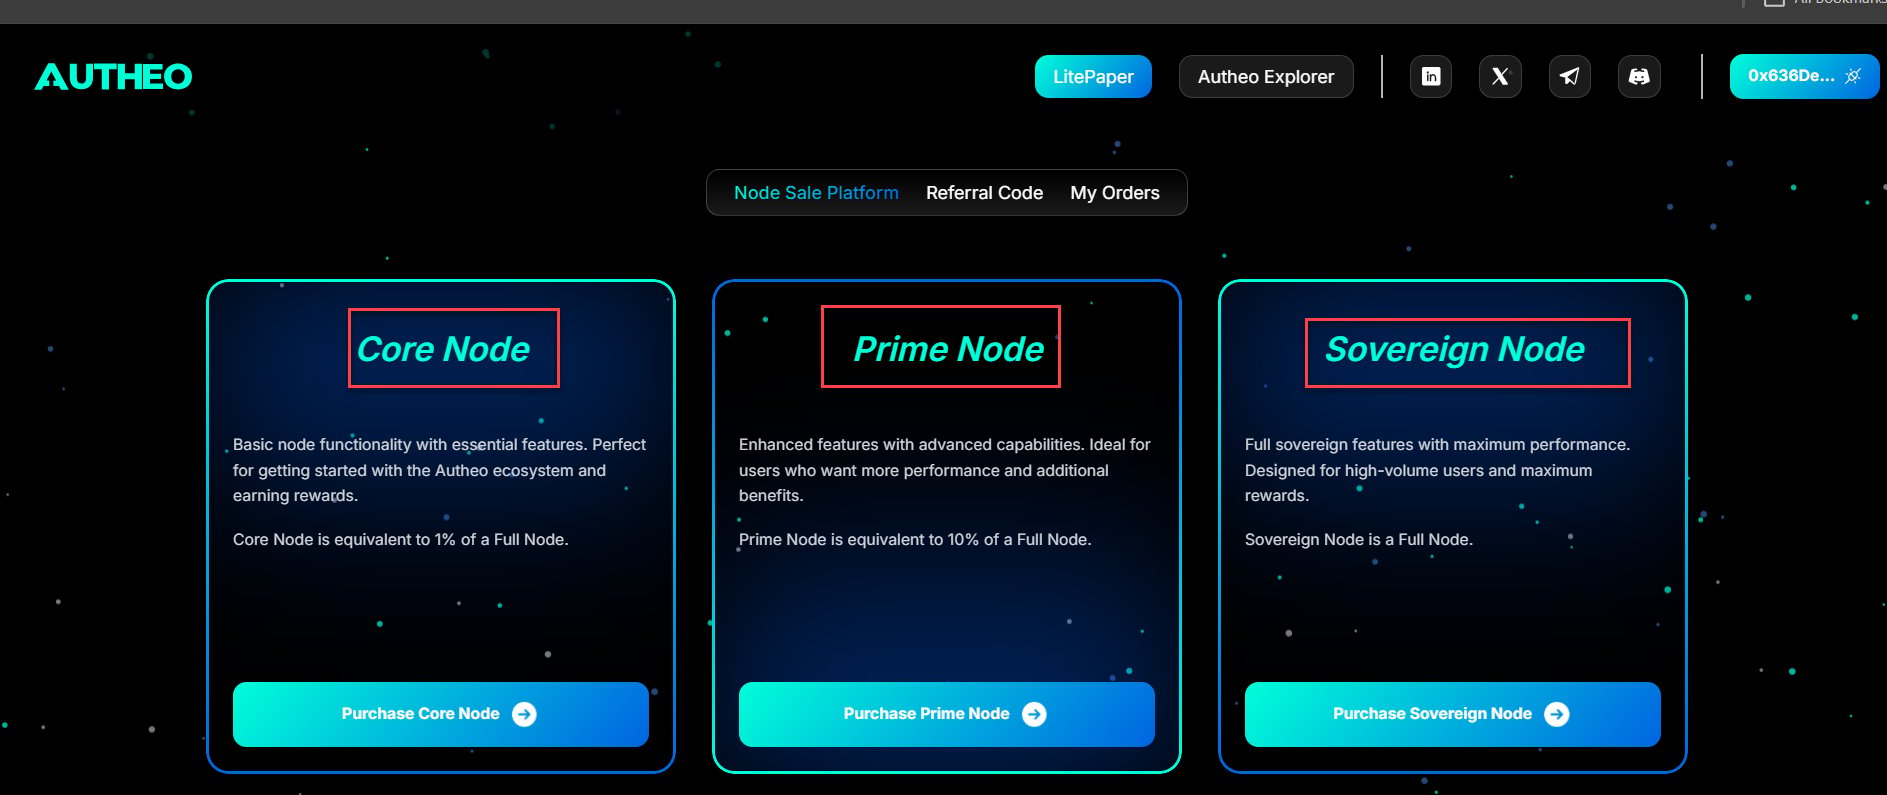
To learn how these license types map to on-chain roles and reward tiers, see License gating.
Step 2 — Configure your purchase
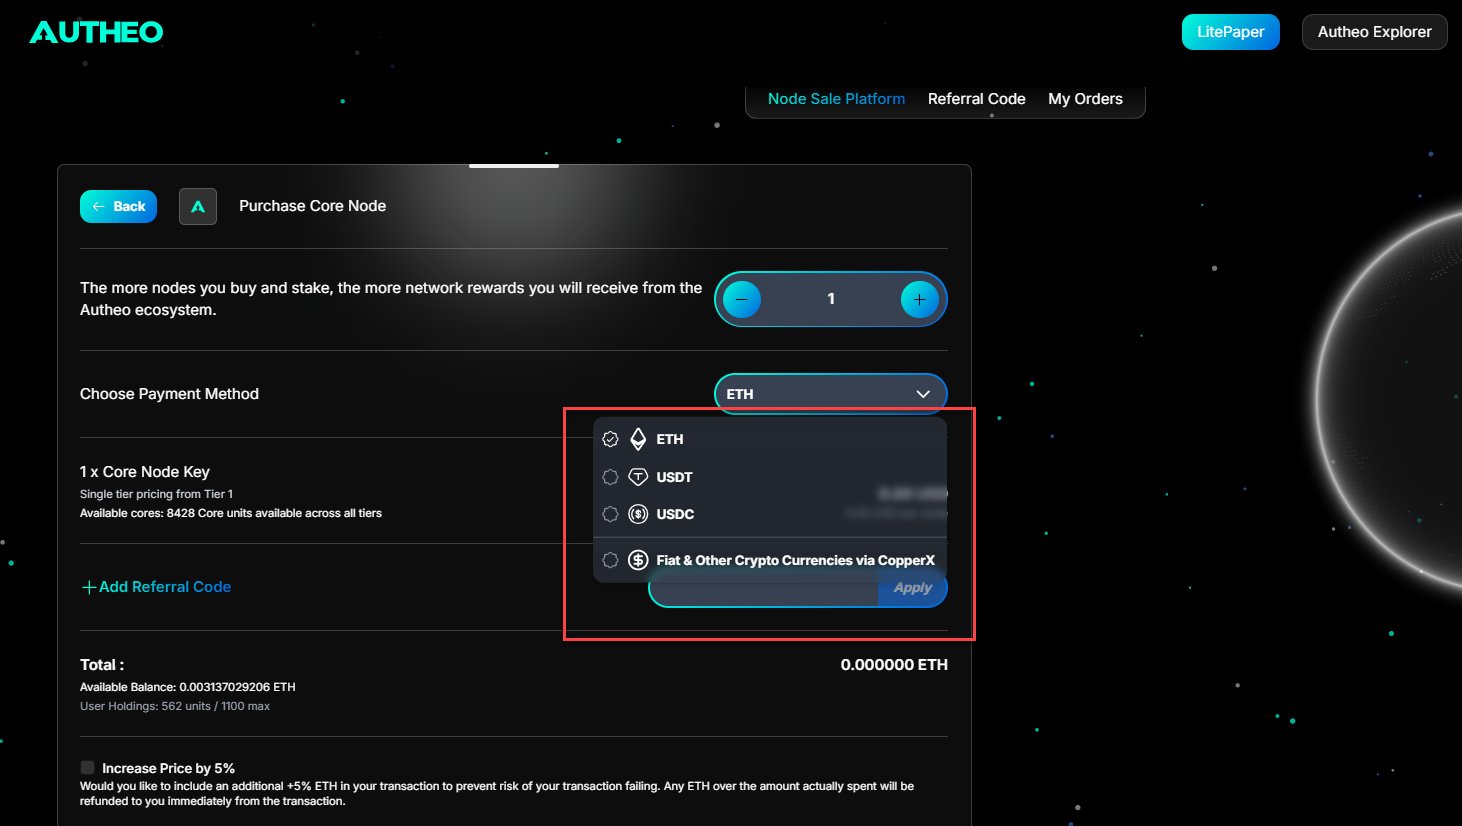
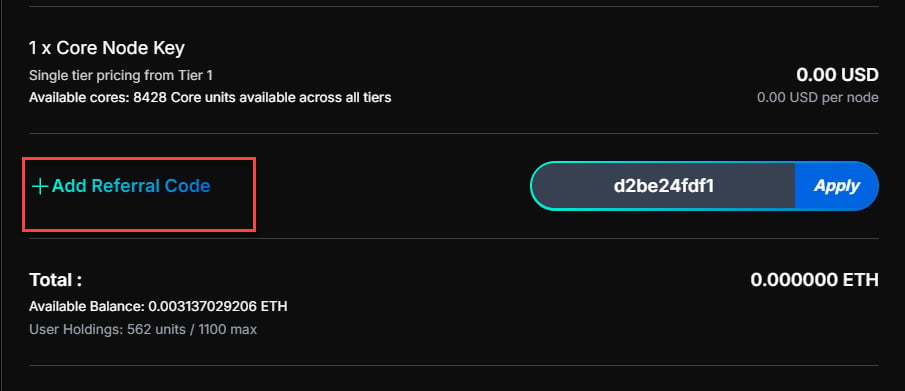
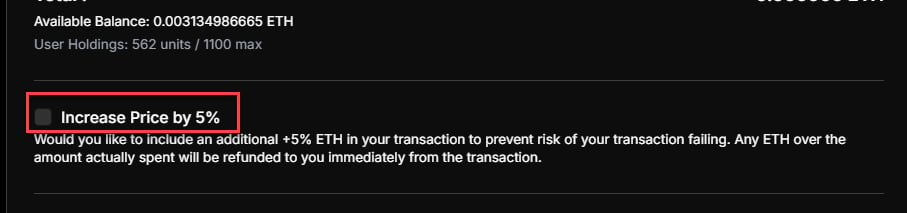
Quantity — Use the + and − buttons (or type directly) to set how many licenses to purchase. The maximum is governed by the per-user cap in the smart contract.Network: Node license purchases are performed on Arbitrum One. Make sure your wallet is connected to the correct network before selecting a payment method.Currency
Step 3 — Confirm the purchase
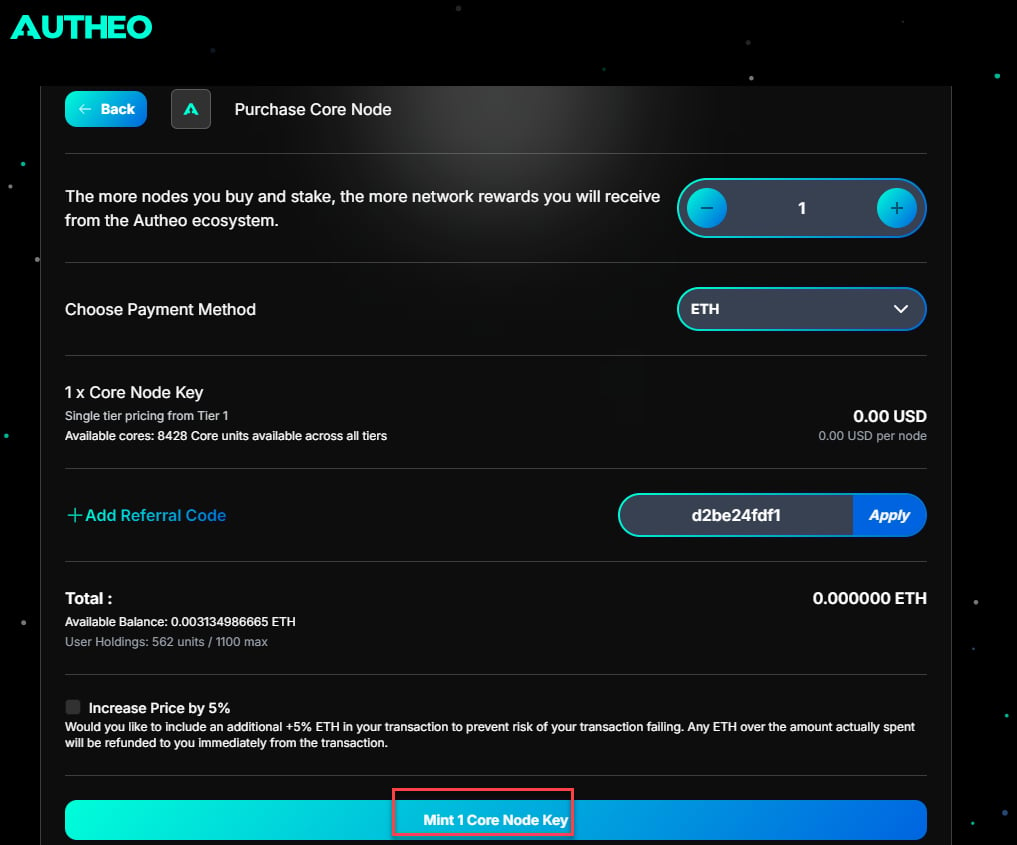
- Review the order summary and click Purchase
- A Purchase Confirmation modal appears with a real-time transaction progress flow
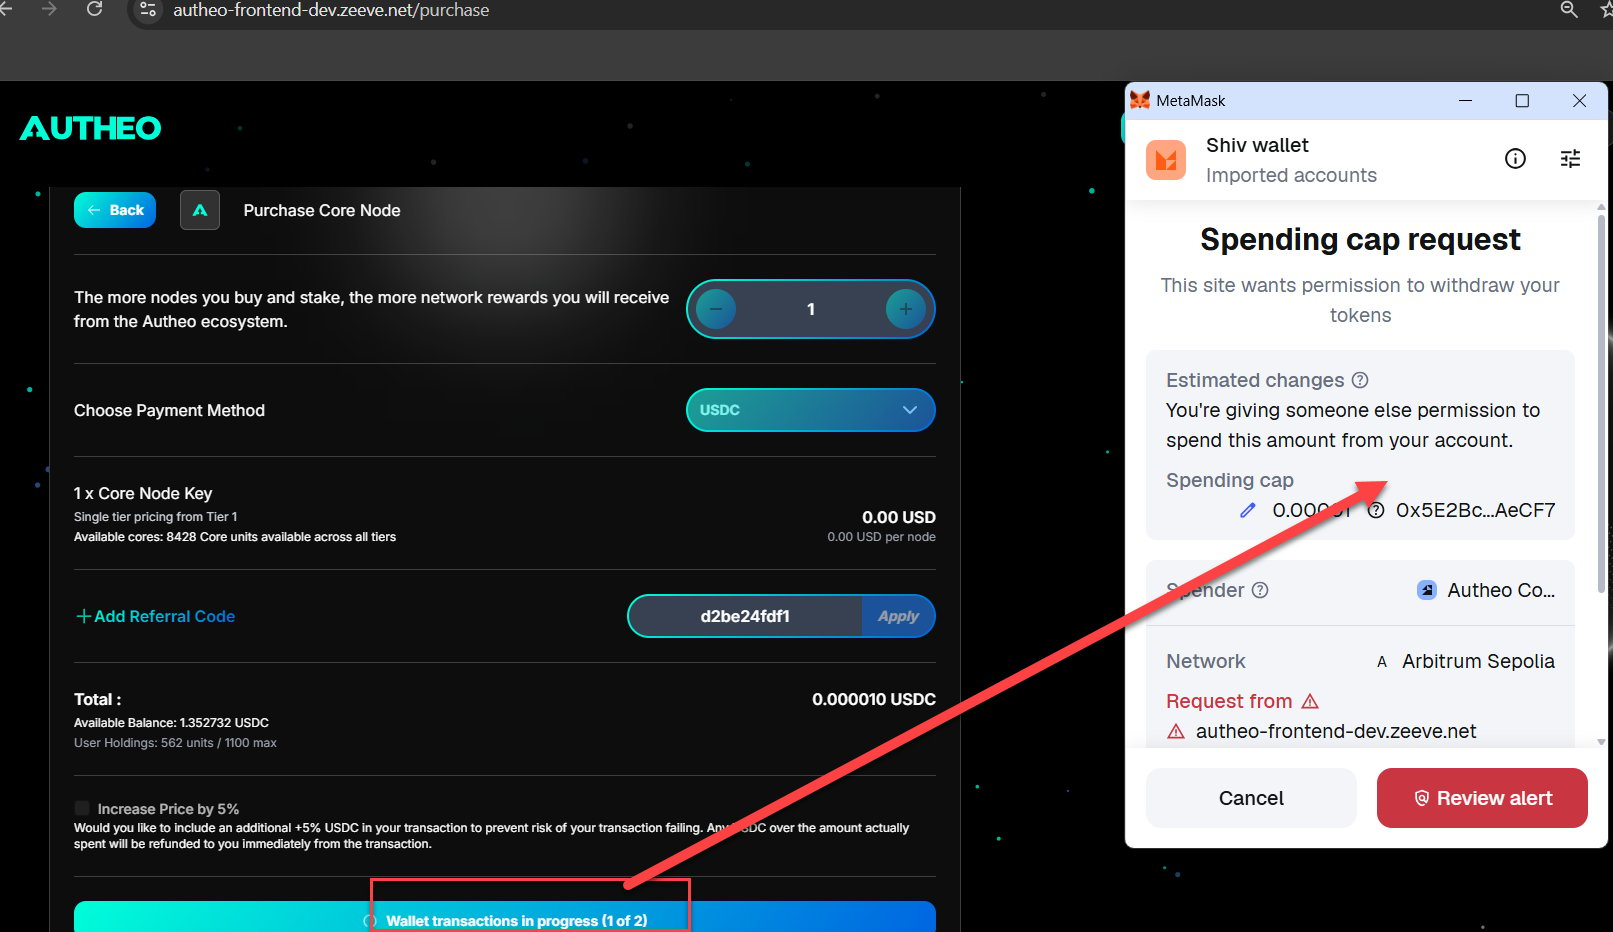
- Approve the transaction in your wallet. ERC-20 payments require a token approval before the purchase transaction can be submitted.
- Confirm the purchase transaction in your wallet.
- Pay the applicable network gas fees.
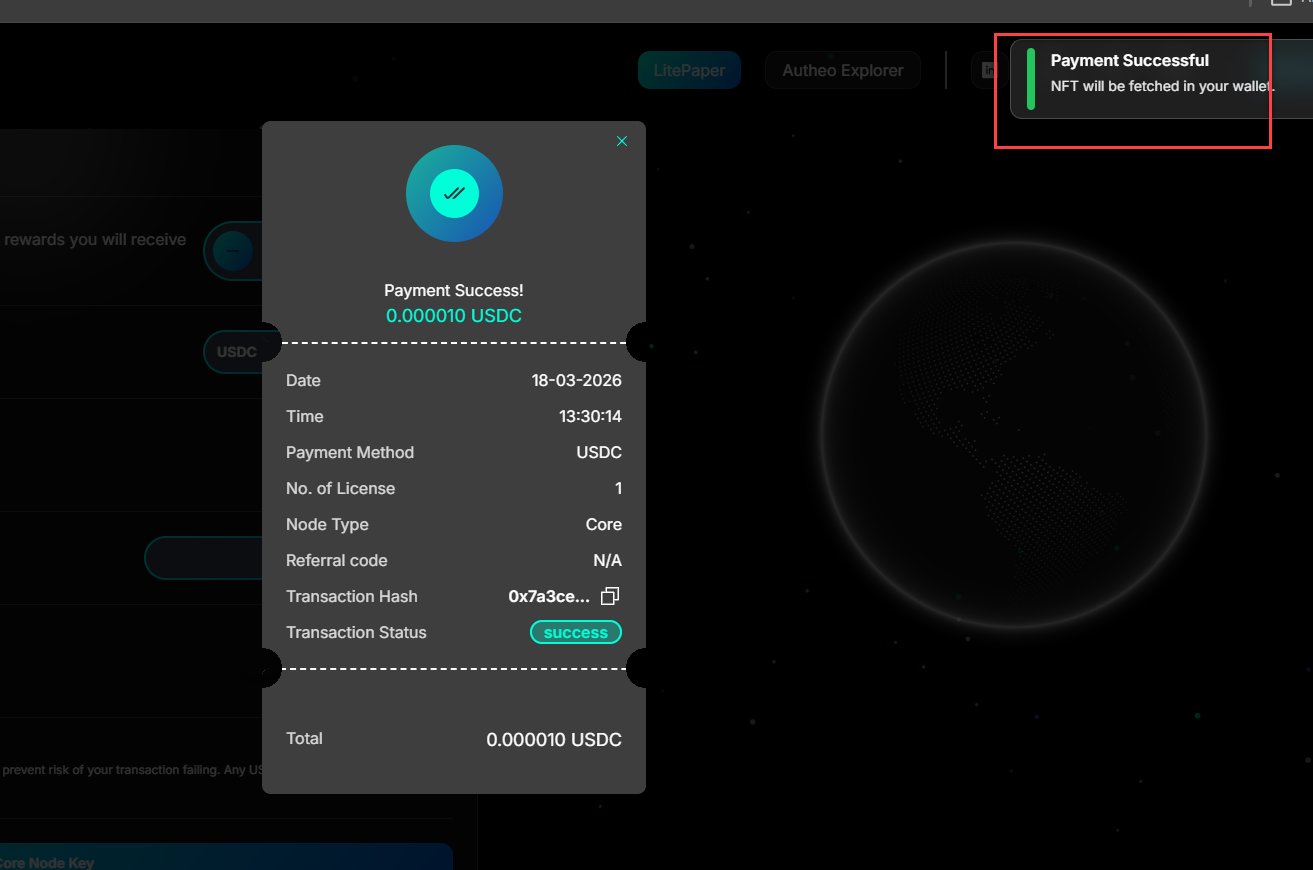
- On success, you are redirected to the Success page.
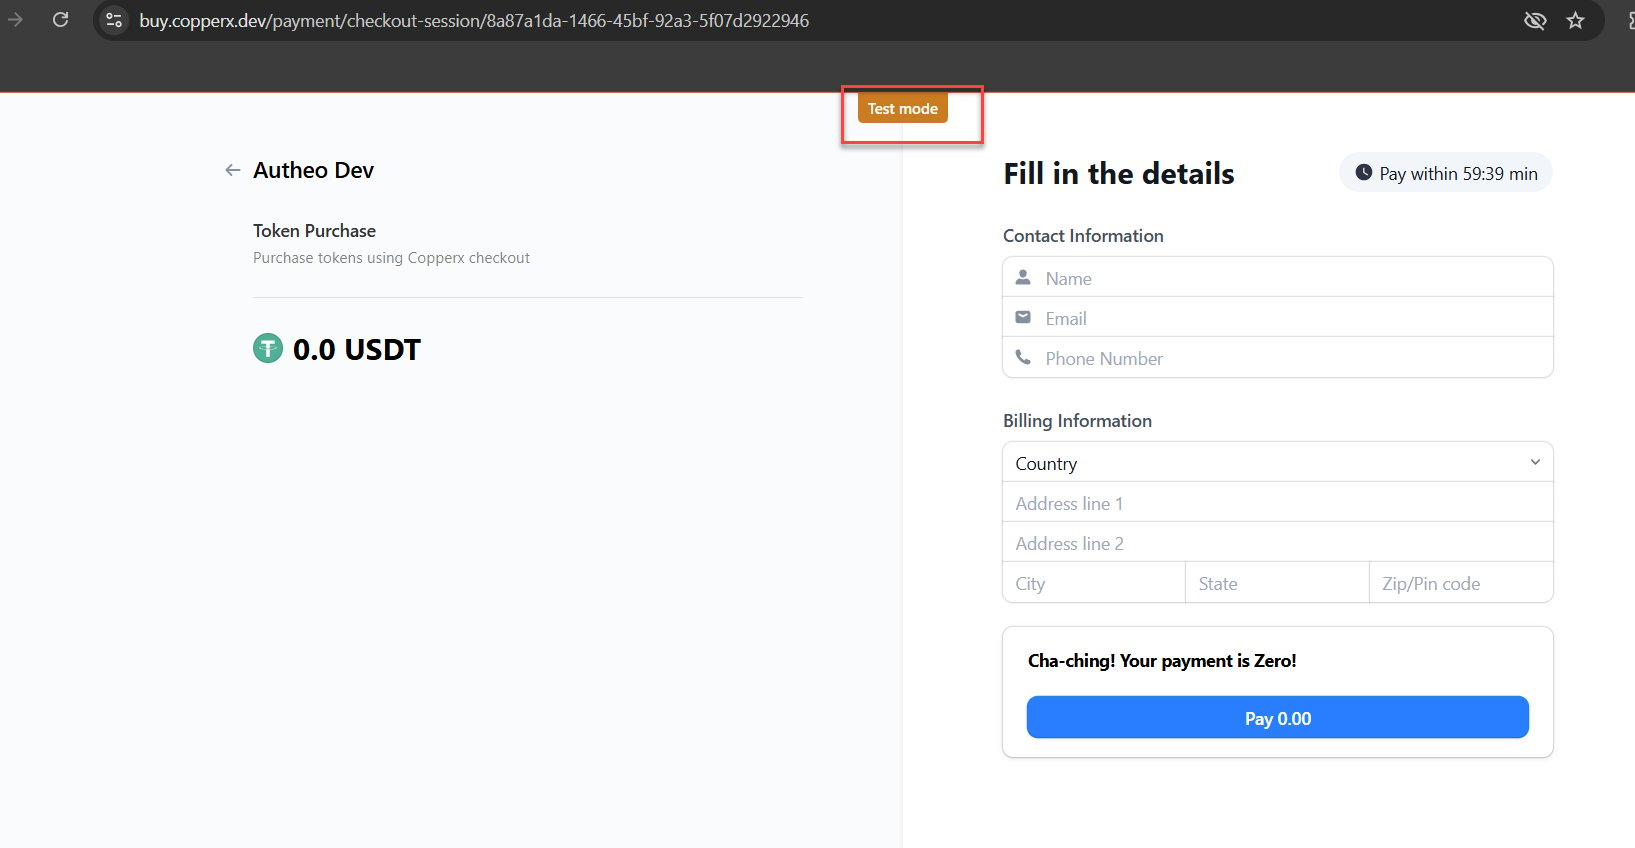
- You are redirected to a hosted payment page
- On successful payment, you are redirected to the Success page
- If you cancel, you are redirected to the Cancel page with no charge applied
Important: Do not close your browser or disconnect your wallet while a purchase transaction is in progress.
Supply limits and blacklist check
Each pricing tier has a fixed supply. When a tier sells out, it automatically advances to the next tier. Current supply availability is shown on the purchase page. If your wallet is on the Autheo blacklist, the purchase button will be disabled. Contact Autheo support if you believe this is in error.After your purchase
After a successful purchase, you will see a transaction summary on the Success page. Your new license NFT will also appear in your wallet. Before you can use the license on Autheo Chain:- Import the NFT into MetaMask so that it is visible in your wallet.
- Bridge the license NFT from Arbitrum One to Autheo Chain.
- Verify the resulting license record on Autheo Chain.
- Bind the license according to its license tier.