> ## Documentation Index
> Fetch the complete documentation index at: https://docs.autheo.com/llms.txt
> Use this file to discover all available pages before exploring further.
# Bridging THEO from Autheo Mainnet to Base
> Step-by-step guide to bridging THEO tokens from Autheo Mainnet to Base network using the Autheo Bridge, so they can be traded on Hydrex.
This guide covers the specific flow for moving THEO tokens from Autheo Mainnet to Base network. This is the step you need before selling or trading THEO earned from validator rewards, staking, or the Node Sale on [Hydrex](https://www.hydrex.fi/) — Hydrex runs on Base, not Autheo Mainnet, so tokens have to arrive on Base first.
If you already hold THEO on Base (for example, tokens you bought directly on Hydrex), you can skip this guide and go straight to [Buying and trading THEO on Hydrex](/token/buying-and-trading-theo).
## Requirements
| Requirement | Details |
| ----------- | --------------------------------------------------------------------------------- |
| Wallet | An EVM-compatible wallet where your THEO tokens are stored (e.g. MetaMask, Keplr) |
| Gas | THEO on Autheo Mainnet, to pay the source-chain gas fee |
## 1. Add THEO as a custom token on Base
The first time you interact with THEO on Base network, your wallet won't recognize it automatically — you need to add it as a custom token. The steps below use MetaMask; the process is similar for other EVM wallets.
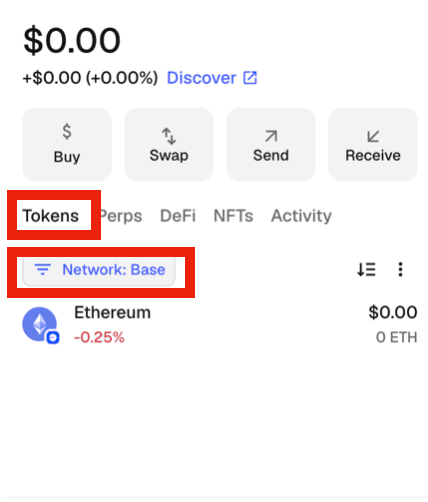
In your wallet, go to **Tokens** and select **Base network**.
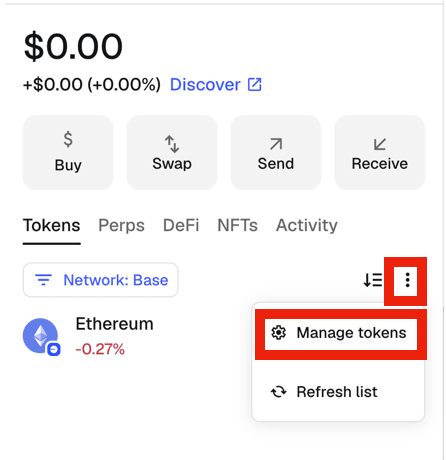
 Click the three-dot menu and choose **Manage tokens**.
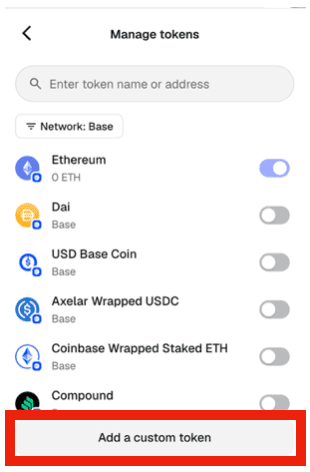
 Click **Add a custom token**.
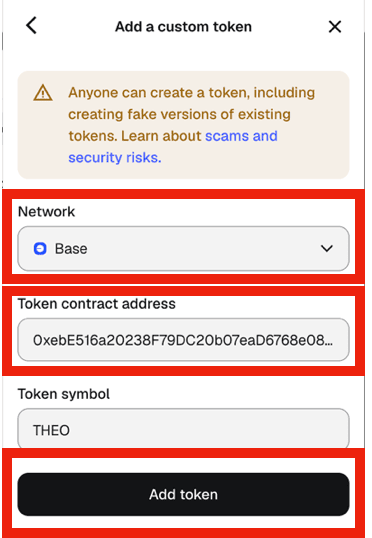
 Make sure the **Network** is set to **Base**, then enter the token contract address:
```
0xebE516a20238F79DC20b07eaD6768e08891Ed309
```
Click **Add token**.
Always verify this contract address against this page or [docs.autheo.com](https://docs.autheo.com) directly before adding it. Never trust a contract address sent to you in a message or DM.
Make sure the **Network** is set to **Base**, then enter the token contract address:
```
0xebE516a20238F79DC20b07eaD6768e08891Ed309
```
Click **Add token**.
Always verify this contract address against this page or [docs.autheo.com](https://docs.autheo.com) directly before adding it. Never trust a contract address sent to you in a message or DM.
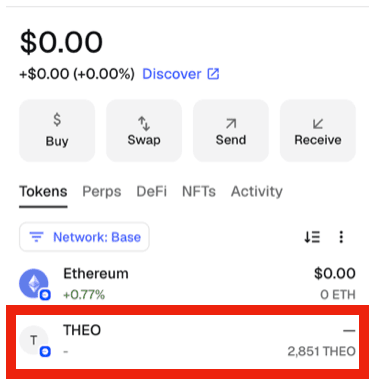
 THEO now appears in your wallet's token list for Base network.
 ## 2. Bridge THEO using the Autheo Bridge
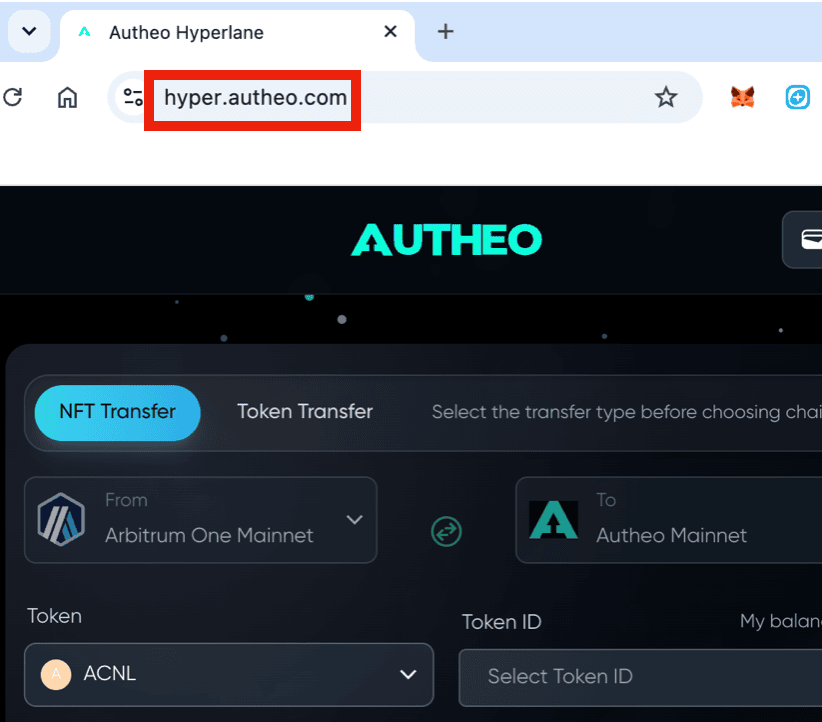
The Autheo Bridge at [hyper.autheo.com](https://hyper.autheo.com/) is the primary way to move THEO between Autheo Mainnet and Base. See the [Bridge overview](/web-apps/bridge/overview) for more on how the Bridge works generally.
Navigate to [https://hyper.autheo.com/](https://hyper.autheo.com/).
## 2. Bridge THEO using the Autheo Bridge
The Autheo Bridge at [hyper.autheo.com](https://hyper.autheo.com/) is the primary way to move THEO between Autheo Mainnet and Base. See the [Bridge overview](/web-apps/bridge/overview) for more on how the Bridge works generally.
Navigate to [https://hyper.autheo.com/](https://hyper.autheo.com/).
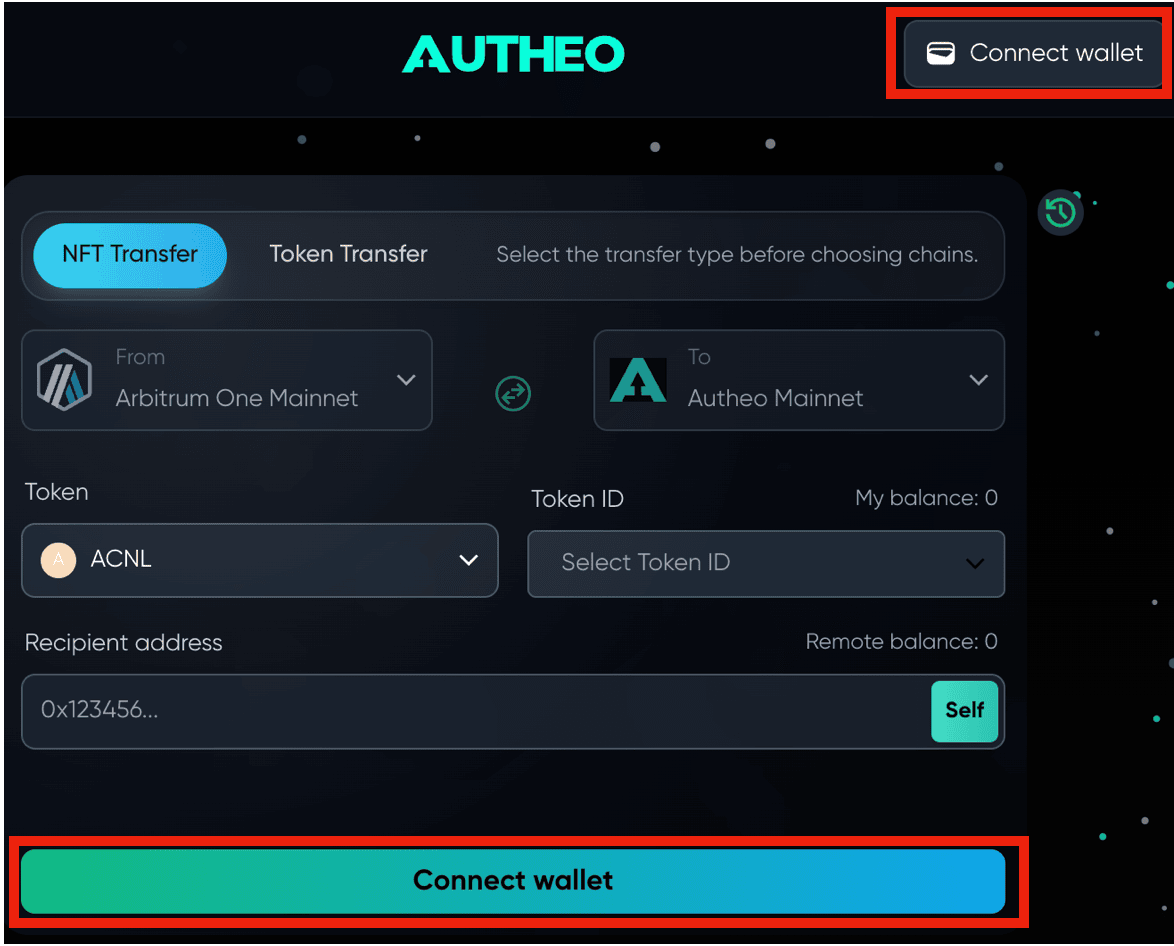
 Click **Connect Wallet**.
 Choose the wallet you want to connect.
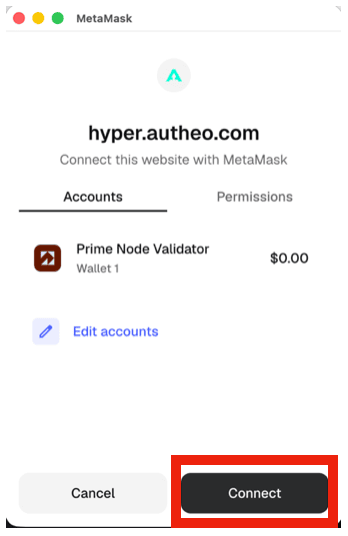
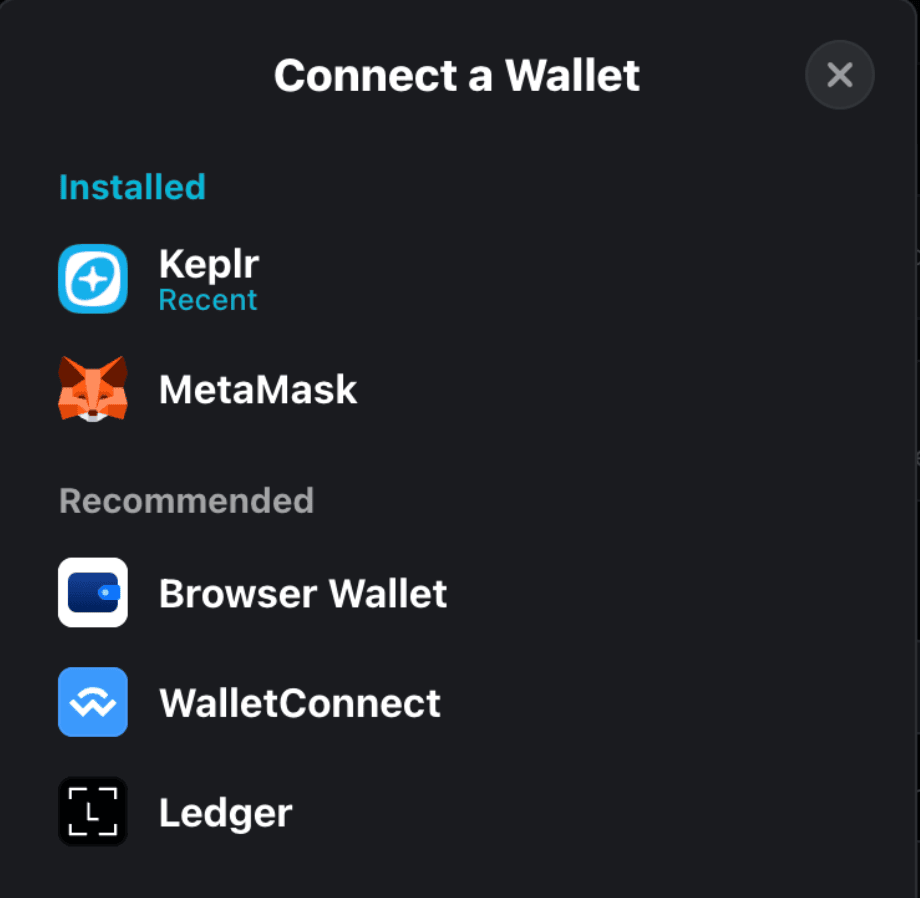 After choosing the desired wallet (e.g. MetaMask), click **Connect**.
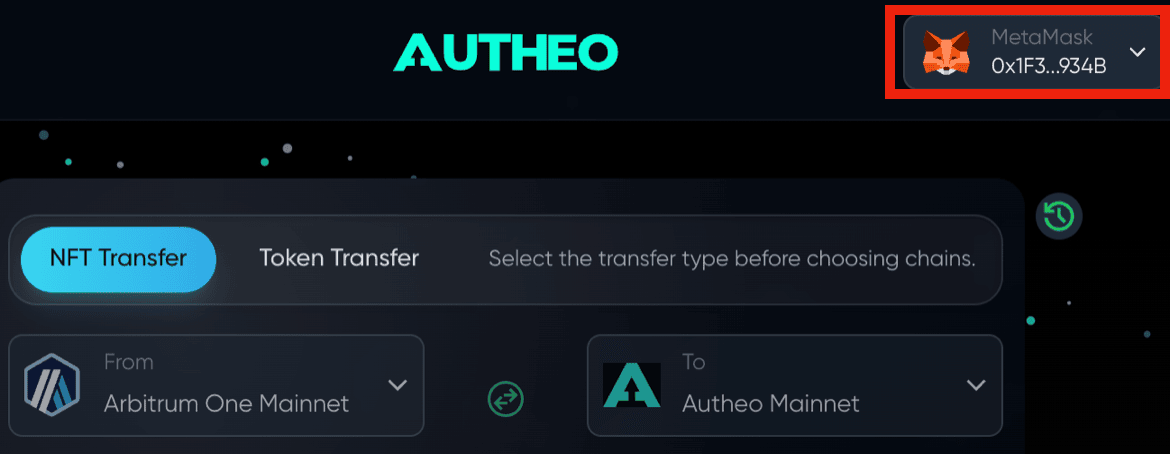
 Your wallet address is displayed once the connection succeeds.
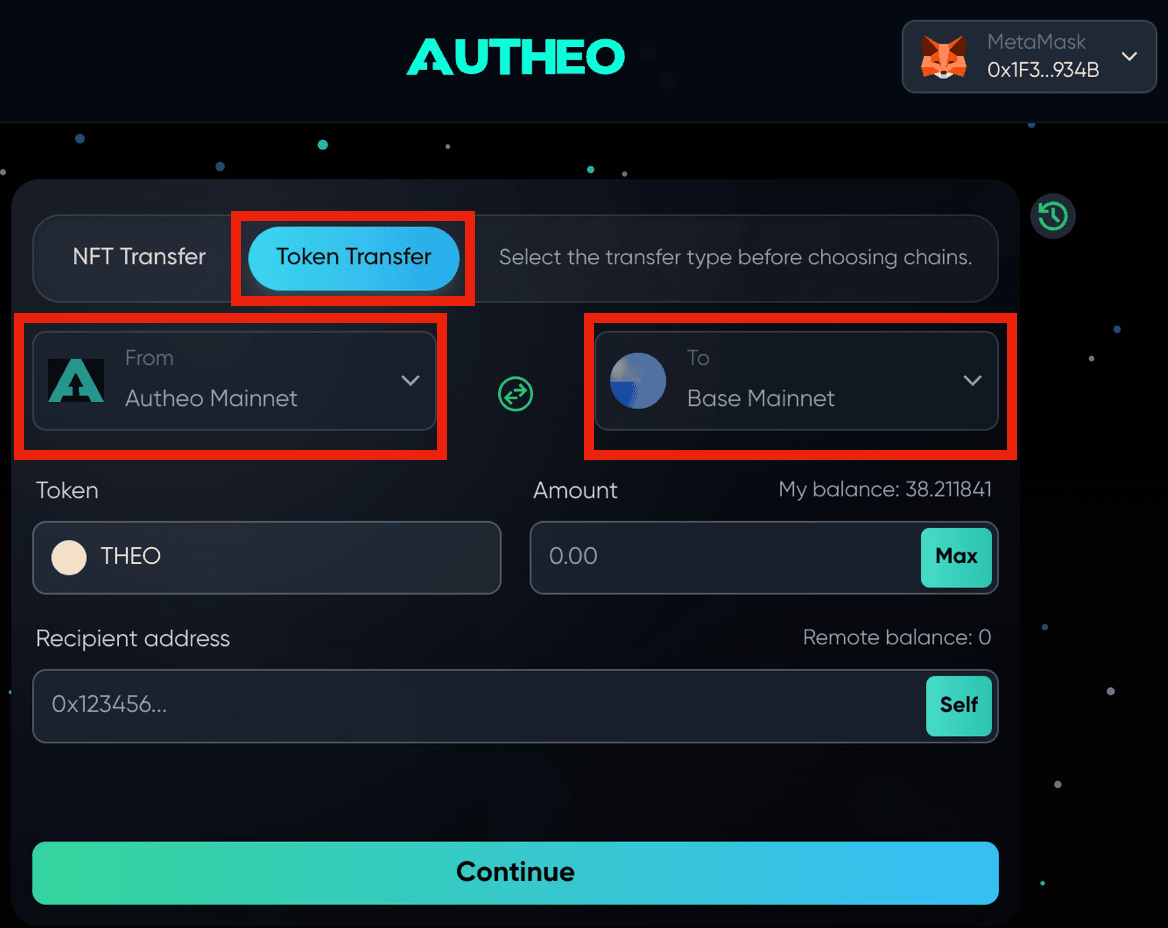
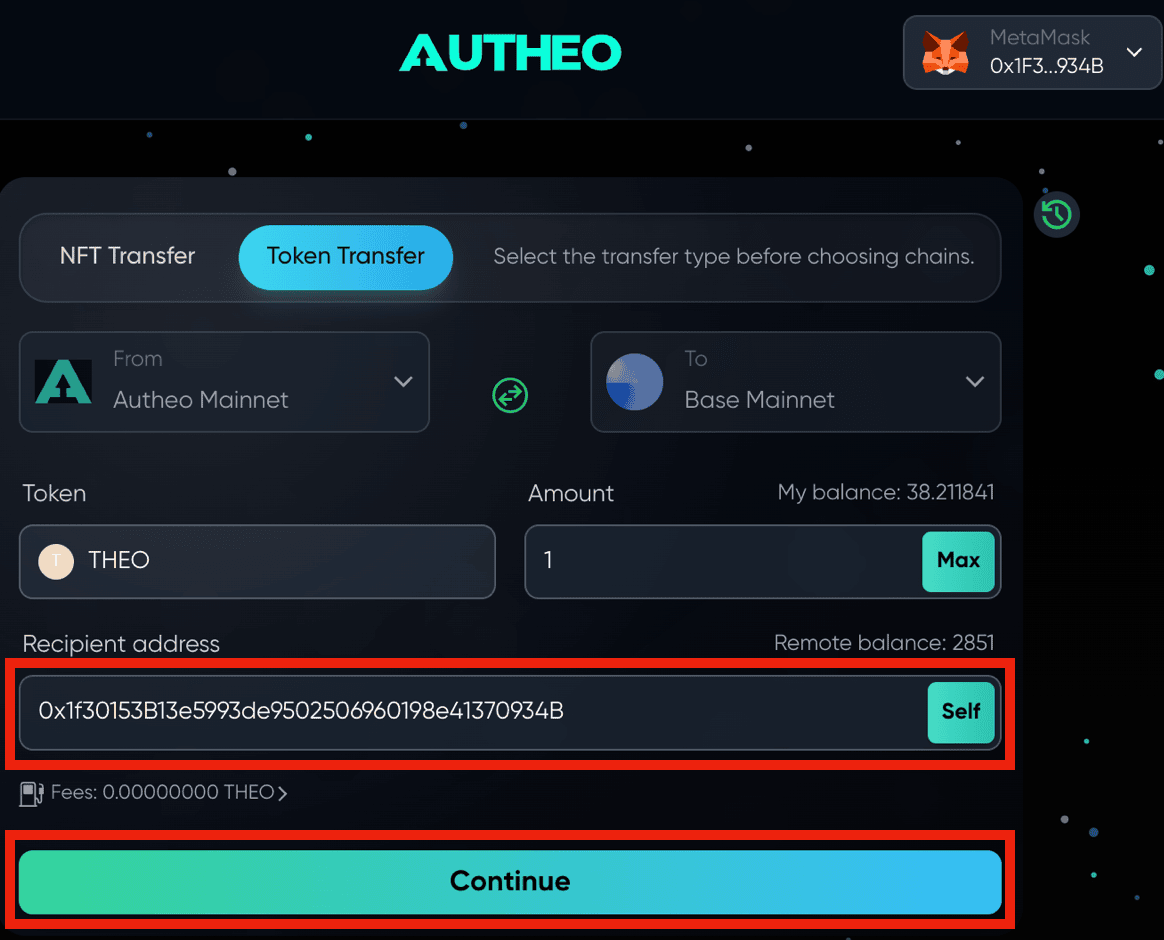
 Click the **Token Transfer** tab. This defaults the source network (**From**) to **Autheo Mainnet** and the destination network (**To**) to **Base Mainnet**.
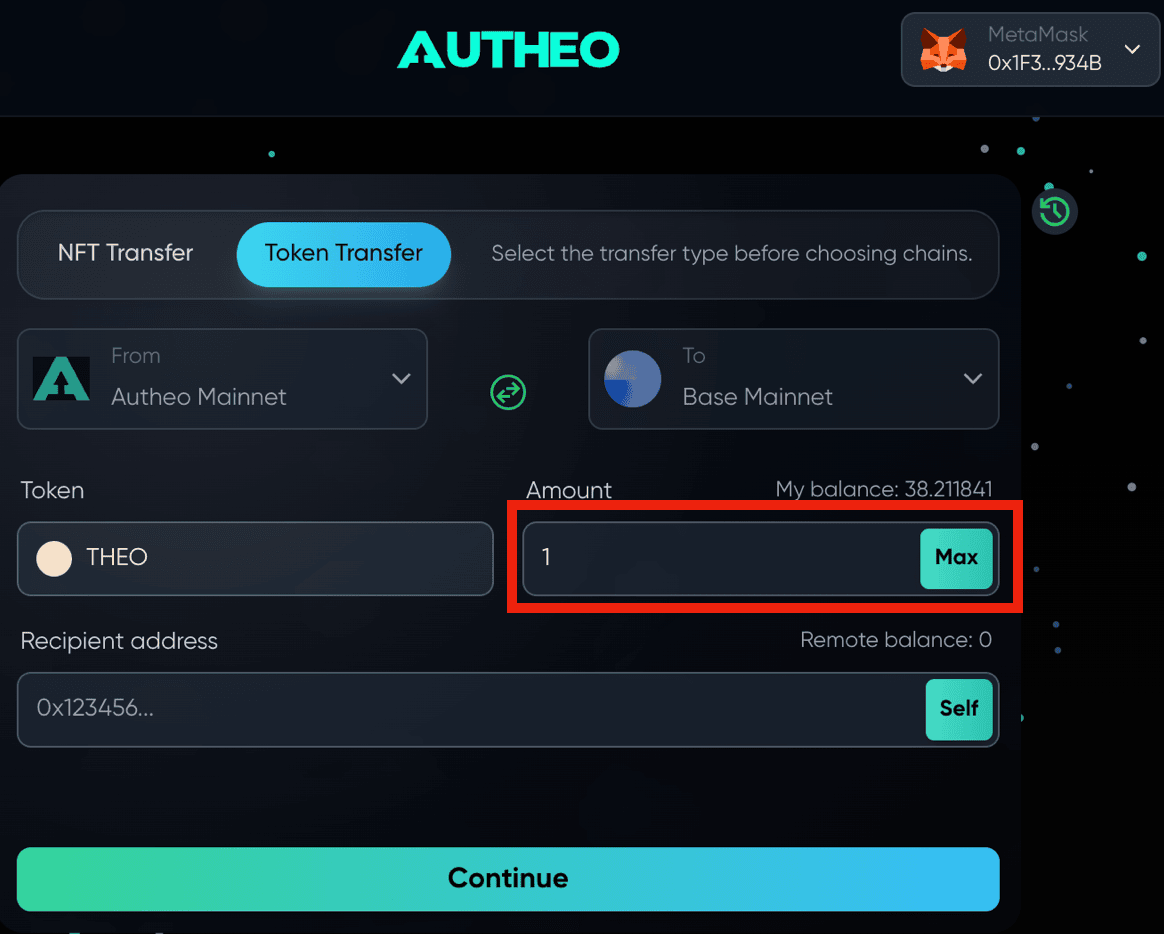
 Enter the amount of THEO you want to bridge.
 Enter the recipient address, or click **Self** if you're bridging to the same wallet, then click **Continue**.
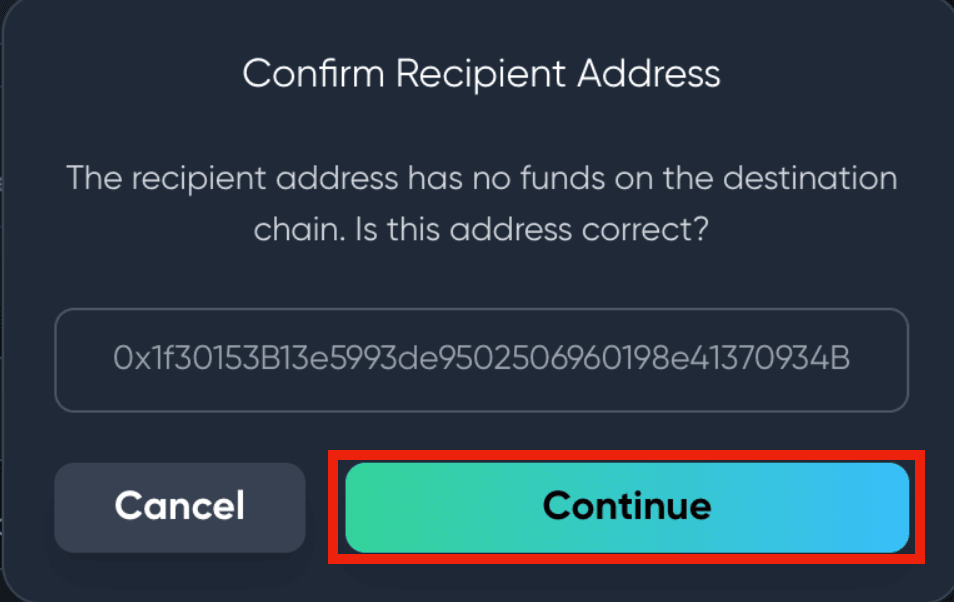
 Verify the recipient address is correct, then click **Continue**.
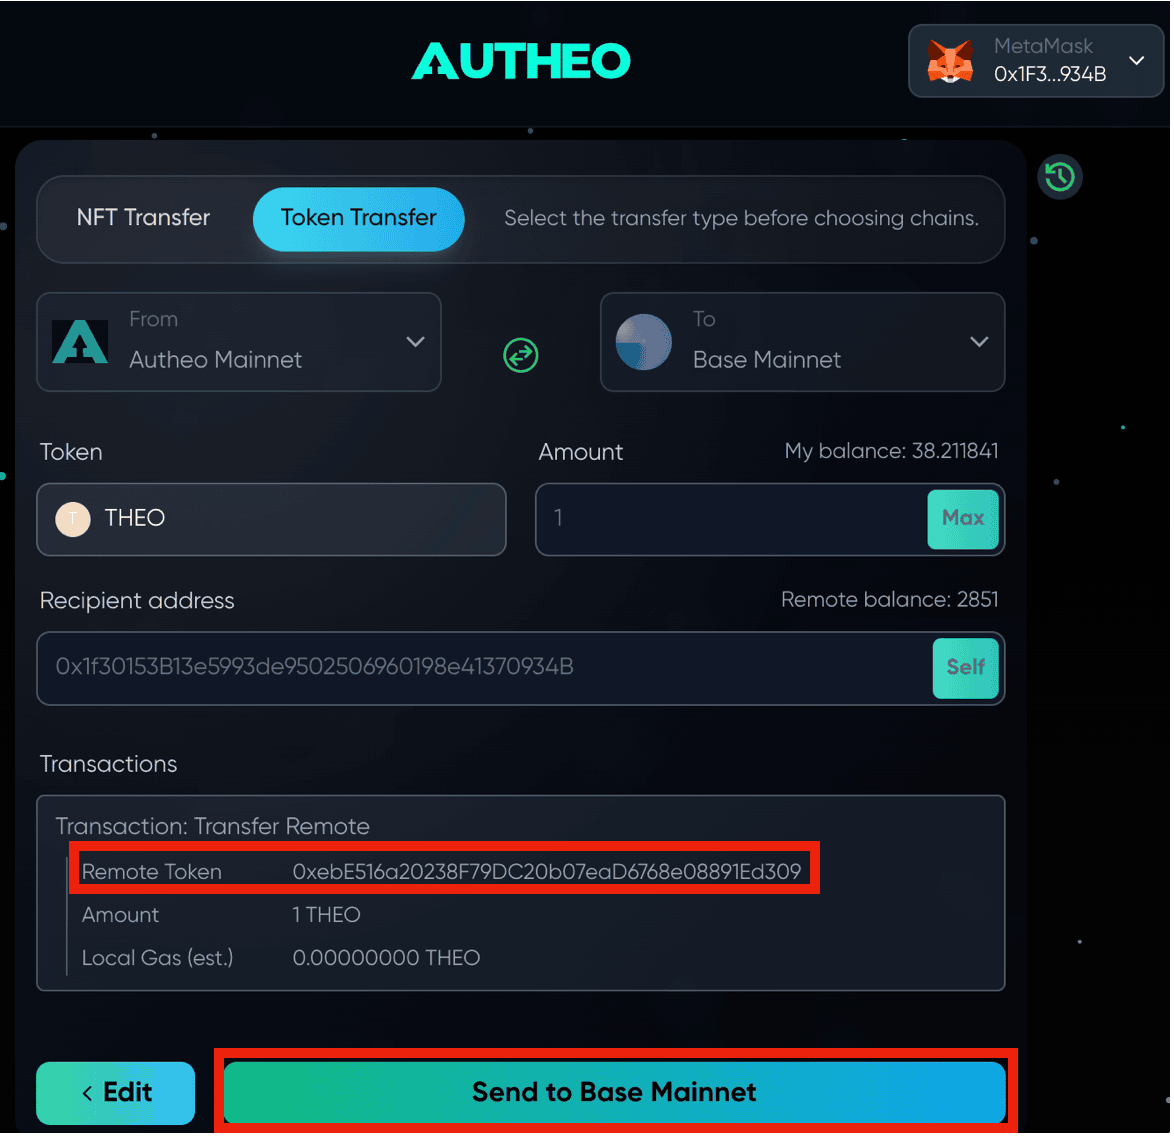
 Verify the **Remote Token** address matches `0xebE516a20238F79DC20b07eaD6768e08891Ed309`, then click **Send to Base Mainnet**.
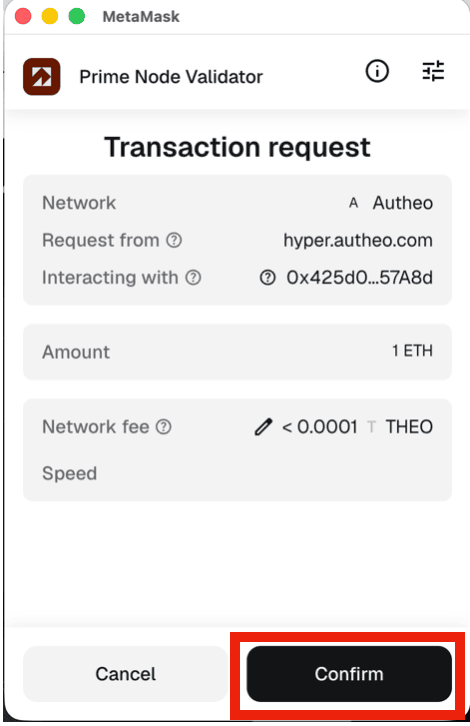
 A transaction request pop-up appears in your wallet. Click **Confirm** to sign it.
 Once the bridge completes, you'll see success confirmations.
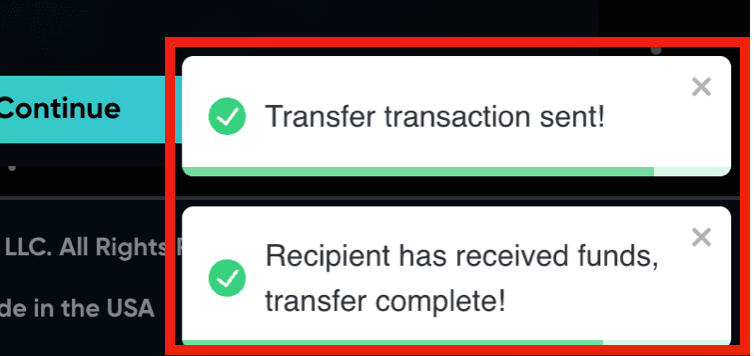 Your THEO is now on Base network and ready to sell or trade on Hydrex. See [Buying and trading THEO on Hydrex](/token/buying-and-trading-theo) for the next steps.
The Bridge enforces geographic compliance restrictions. Users in certain jurisdictions may be unable to access the service.
Your THEO is now on Base network and ready to sell or trade on Hydrex. See [Buying and trading THEO on Hydrex](/token/buying-and-trading-theo) for the next steps.
The Bridge enforces geographic compliance restrictions. Users in certain jurisdictions may be unable to access the service.